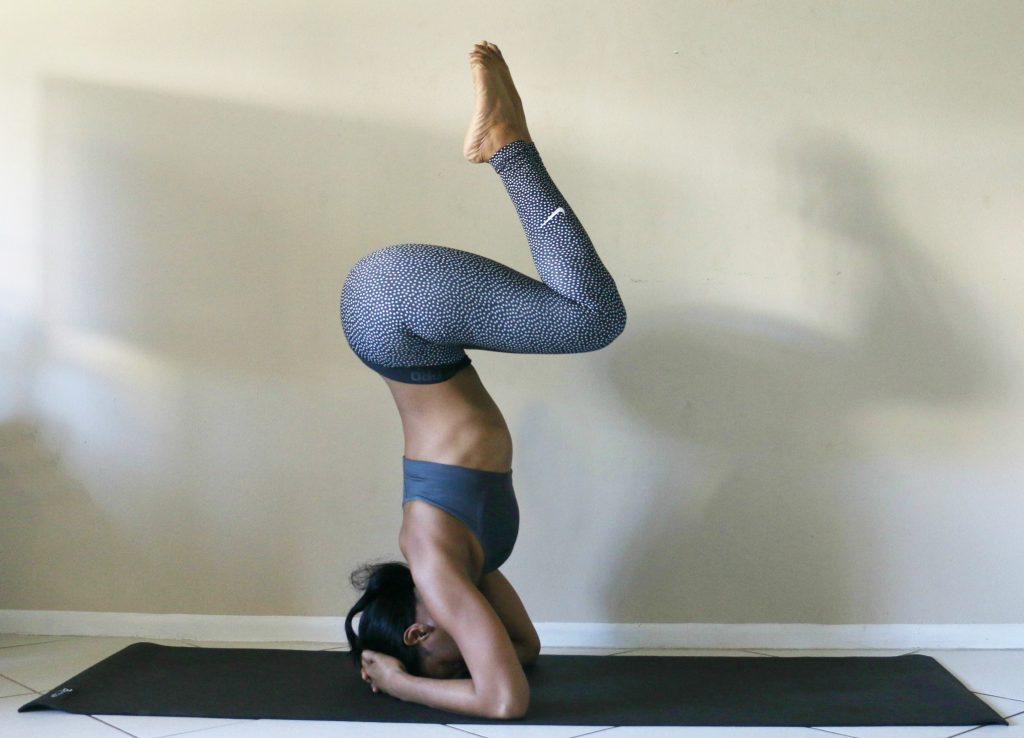
Headstand Tutorial For Yoga Beginners
Hi B&B friends, I’m back with another challenging and fun yoga tutorial and this time it’s all about mastering supported headstand (AKA Sirsasana).
Besides being a great way to amplify your mental and physical strength, headstand has awesome benefits including strengthening the core, relieving stress, stimulating hair growth and glowing skin, plus so much more!
Here’s a step-by-step tutorial to help yogis of all levels nail headstand.
*If you are not an experienced yogi, it’s best to practice inversions like headstand with an experienced yoga teacher or partner. I also recommend using a wall to avoid potential injury. Also, be sure to move your body and warm-up before trying this inversion.
1. Begin in downward facing dog and lower your elbows, forearms and hands to the floor, shoulder-width apart. Interlace your fingers, leaving about 2 inches between your palms and lower the crown of your head to the mat, resting the back of your head in your palms.
Root strongly into your forearms and outer wrists. Keeping most of the weight in your arms to protect your neck, slowly walk your feet in until your body makes an upside down V shape.
2. With your toes pointed and gently resting on the mat, engage your core to lift your right foot off the mat, bringing your heel towards your glutes.

3. Next, raise your left leg so both feet are off the mat and the top of your thighs are parallel with the floor. Remember to breathe and keep the weight in your forearms and wrists.

4. Slowly, extend your left leg toward the sky. (BTW, the yoga mat I’m using in this tutorial is the reverse side of my suede Cherry Blossom Sugarmat Designer yoga mat.)

5. Follow with your right leg, and you’re up!

Pin it!

What are some of your tips for safely lifting into headstand?
Want to learn more about the benefits of headstand. Check out my blog post that’s all about it right here!
Ciao Bellas,


